Expert advice on blister prevention techniques, proper sock selection, foot care routines, and field treatment methods to keep you walking comfortably day after
Let me tell you about the time I nearly quit the Camino on day three. Not because of exhaustion, not because of homesickness, but because of a blister the size of a small grape that had formed on my right heel somewhere between Roncesvalles and Zubiri. I'd made every rookie mistake in the book—new boots, cotton socks, no preventive measures—and I paid for it dearly. That was my first Camino Frances, and I learned more about foot care in those painful subsequent days than I'd learned in my entire life.
Six Camino Frances crossings later, plus the Via Podiensis twice (once all the way to Santiago), the Norte, both the coastal and inland Portuguese routes from Lisbon, and five walks out to Finisterre, I've accumulated what I'd call an embarrassing amount of blister knowledge. I've seen feet that looked like they belonged in a horror film, nursed my own through some genuinely grim situations, and watched experienced pilgrims share wisdom around albergue tables whilst newcomers frantically scribbled notes.
This is everything I wish someone had told me before that first Camino.
The Camino is particularly brutal on feet for several reasons. You're walking day after day without rest. Your feet swell in the afternoon heat. The terrain constantly changes—smooth pavement to rocky paths to soft earth to gravel, sometimes within a single hour. And let's be honest, most of us aren't walking 20+ kilometers daily in our regular lives. Our feet simply aren't prepared for this kind of sustained assault.
The three main culprits are friction (movement between your foot and sock or sock and shoe), moisture (sweat turns skin soft and vulnerable), and heat (which increases both of the above). Control these three factors, and you've won most of the battle.
Your footwear needs at least 100-150 kilometers of break-in before you start. I'd suggest doing your training walks in whatever you plan to wear on the Camino—not your regular running shoes for training, then switching to boots for Spain. Your feet need to get to know these shoes, and vice versa.
Size up. Your feet will swell, sometimes dramatically, by afternoon. What fits perfectly at 7 AM will feel like a vice by 2 PM. I go up half a size from my regular shoes for Camino footwear, and I make sure there's a thumb's width of space between my longest toe and the end of the shoe.
I've walked in everything from heavy leather boots (the Norte, where waterproofing matters) to trail runners (most of my Frances walks) to hiking sandals (sections of the Portuguese coast). There's no single "right" choice—what matters is that your choice fits your feet and your walking style.
If you're still figuring out what footwear works for you, you might want to ask about specific topics before committing to a purchase.
Never, ever wear cotton socks on the Camino. Cotton absorbs moisture and holds it against your skin, creating the perfect environment for blisters. Wet cotton also loses its cushioning and bunches up, adding friction exactly where you don't want it.
My sock of choice for most conditions is Darn Tough Hiker Micro Crew—they're merino wool, they regulate temperature beautifully, they don't hold odor (important when you're sharing albergue space), and they come with a lifetime guarantee. I pack three pairs and rotate them daily.
For hot weather walking—and the meseta in summer can be genuinely brutal—I switch to Injinji toe socks. These take some getting used to, but they virtually eliminate between-toe blisters by preventing your toes from rubbing against each other. The first time I tried them felt weird. Now I won't walk the meseta without them.
Some pilgrims swear by the double-sock system: a thin liner sock underneath a thicker outer sock, so the friction happens between the socks rather than between sock and skin. Wright socks are specifically designed with this principle built in. I've used this system on the Via Podiensis, where the terrain is particularly demanding, with good results.
My personal method, developed over many Caminos, is applying Trail Toes every morning before I put on my socks. Focus on hot spots—the heel, the ball of the foot, between the toes, anywhere you've had problems before. It's a bit messy, but it creates a protective layer that lasts most of the walking day.
Some pilgrims prefer petroleum jelly (Vaseline), which works but can be heavy and tends to break down socks faster. Others use Body Glide, which goes on like a deodorant stick and is less messy. I've met pilgrims who use pure shea butter, diaper rash cream, even sheep's wool lanolin. The specific product matters less than the consistent application.
Leukotape P is the gold standard here. It's a rigid zinc oxide tape that sticks like nothing else (seriously, getting it off can be its own challenge) and provides a tough, smooth surface that prevents friction from reaching your skin. Apply it directly to clean, dry skin, smoothing out any wrinkles which could themselves cause blisters.
For areas that flex a lot—the heel, the ball of the foot—I prefer KT Tape, which moves with your foot whilst still providing protection.
The key with taping is applying it before you have a problem, to skin that's completely intact. Taping over a hot spot or existing blister is treatment, not prevention, and requires different techniques.
During the walk: stop and air out your feet at least once during a long stage. Take off your shoes and socks, let everything dry for 10-15 minutes. I know it's tempting to push through, but this small investment pays dividends. If you feel a hot spot developing—that telltale warmth or irritation—stop immediately and address it. A hot spot takes five minutes to tape. A full blister takes days to heal.
After the walk: wash your feet properly, dry them thoroughly (especially between the toes), and let them air out. I try to wear sandals or go barefoot for the rest of the afternoon and evening. Inspect your feet carefully for any developing problems—catching issues early is everything.
Some pilgrims swear by soaking feet in salt water, or in water with a splash of surgical spirit to toughen the skin. I've never found this makes a dramatic difference, but it certainly doesn't hurt and the ritual itself forces you to pay attention to your feet.
But let's be realistic about the Camino context: you're walking again tomorrow, and the day after, and the day after that. Small blisters tend to become big blisters. In my experience, dealing with them early and aggressively usually beats the wait-and-see approach.
First, clean the blister and surrounding area thoroughly. I use alcohol wipes or iodine solution—most albergues have something available, or you can pick up supplies at any farmacia. Let the area dry completely.
Sterilize a needle by holding it in a flame until it glows red, then letting it cool. Some pilgrims use sewing needles they keep specifically for this purpose. Others use safety pins. Don't use a random needle you found in your bag without sterilizing it—infection on the Camino is serious business.
Pierce the blister at its base, near the healthy skin edge, making a small hole. Some people make two holes on opposite sides to allow better drainage. Gently press out the fluid with clean gauze or tissue—don't tear the roof off the blister. That overlying skin, however thin, is protecting the raw skin underneath.
Apply an antiseptic and cover with a proper dressing. For blisters, I layer a small piece of sterile non-stick gauze directly on the wound, then cover with Compeed or Leukotape. The non-stick layer prevents the dressing from bonding to the raw skin—removing a stuck dressing can tear the fragile new skin and set you back days.
Thread the sterilized needle with clean thread (or dental floss), then pass it through the blister from one side to the other. Remove the needle, leaving the thread in place—this creates a wick that allows continuous drainage whilst keeping the wound protected.
Leave about an inch of thread on each side, and change the thread daily. It sounds medieval, but it works remarkably well for stubborn blisters that won't stay drained.
Stop walking immediately. I know, I know—you want to reach the next village, you're making good time, you'll deal with it later. Don't. Seriously. Five minutes now saves days of misery.
Remove your shoe and sock. Let the area cool and dry. Then cover it with a slick, protective layer—Compeed works perfectly here, as does properly applied Leukotape. Make sure there are no wrinkles or edges that could cause additional friction.
Then keep walking, but pay attention. If the hot spot returns, something else is going on—maybe your sock has bunched, maybe there's a seam in the wrong place, maybe you need to loosen or tighten your lacing.
Spanish farmacias are excellent resources for pilgrims. The pharmacists are knowledgeable, often speak English, and can provide advice and supplies for standard foot care. For anything that looks infected or isn't responding to treatment, many towns along the Camino have health centers (Centro de Salud) that can provide more advanced care.
This is one reason why walking every day, even through mild discomfort, can be valuable. Not through severe pain—that's your body telling you to stop—but through that low-grade awareness that comes with hard use. Your feet are adapting.
Before your Camino, build up your walking gradually. Don't do a single 30-kilometer training walk—do weeks of progressively longer walks. Let your feet experience hot weather, wet conditions, different terrains. Discover your personal problem areas before you're standing in Saint-Jean-Pied-de-Port or Lisbon.
Some pilgrims use skin-toughening strategies in the months before walking: painting toes with surgical spirit, wearing socks with sandpaper-like textures, walking barefoot on rough surfaces. I'm skeptical of the more extreme approaches, but consistent training walks genuinely do condition the skin.
I've sat in albergues crying into my café con leche, staring at my ruined feet, genuinely wondering if I should stop. I've met pilgrims who did stop, who took buses forward or went home entirely. There's no shame in that—the Camino isn't supposed to be a punishment.
But I've also watched pilgrims limp through the worst of it and come out the other side. I've seen feet that looked impossible recover with good care. And I've experienced myself that particular satisfaction of overcoming something that seemed insurmountable.
If you're struggling, know that many pilgrims have been exactly where you are. The hospitalero at your albergue has seen worse. The fellow pilgrim offering help isn't judging your foot care failures. This is part of the experience—an unpleasant part, certainly, but woven into the Camino fabric nonetheless.
- Leukotape P - small roll, about 1 inch wide
- Compeed blister plasters - medium and small sizes
- Trail Toes or similar lubricant
- Small pack of alcohol wipes
- Safety pins (sterilized before use)
- Small sharp scissors (for cutting tape)
- Sterile non-stick gauze pads
- Ibuprofen (for inflammation)
This adds maybe 150 grams to my pack, and I consider it absolutely essential. You can buy most of these supplies at farmacias along the way, but having them from day one means you're never caught out.
But they're also manageable. With proper prevention—good socks, broken-in shoes, lubricant, attention to warning signs—many pilgrims walk their entire Camino without significant foot problems. And when blisters do happen, good treatment keeps you moving.
Go in knowing that your feet will be working harder than they've ever worked, that some discomfort is normal, and that most problems can be solved with early intervention and a bit of knowledge. Pay attention to your feet. Give them the care they deserve. They're carrying you all the way to Santiago.
If you're starting to plan your Camino and want personalized advice about foot care preparation or any other aspect of your journey, I'm always happy to help. The Camino is better when we share what we've learned—even the painful lessons about blisters.
---
Try asking My Camino Guide:
- What should I pack in my Camino first aid kit?
- How do I break in boots before walking the Camino?
- What's the best footwear for the Camino in summer?
Six Camino Frances crossings later, plus the Via Podiensis twice (once all the way to Santiago), the Norte, both the coastal and inland Portuguese routes from Lisbon, and five walks out to Finisterre, I've accumulated what I'd call an embarrassing amount of blister knowledge. I've seen feet that looked like they belonged in a horror film, nursed my own through some genuinely grim situations, and watched experienced pilgrims share wisdom around albergue tables whilst newcomers frantically scribbled notes.
This is everything I wish someone had told me before that first Camino.
Understanding Why Blisters Happen in the First Place
Before we get into prevention and treatment, it helps to understand what you're actually fighting against. A blister forms when friction causes the upper layers of your skin to separate from the lower layers, and fluid rushes in to fill the gap. It's actually your body's protective mechanism—clever, really, just incredibly inconvenient when you've got another 25 kilometers to walk.The Camino is particularly brutal on feet for several reasons. You're walking day after day without rest. Your feet swell in the afternoon heat. The terrain constantly changes—smooth pavement to rocky paths to soft earth to gravel, sometimes within a single hour. And let's be honest, most of us aren't walking 20+ kilometers daily in our regular lives. Our feet simply aren't prepared for this kind of sustained assault.
The three main culprits are friction (movement between your foot and sock or sock and shoe), moisture (sweat turns skin soft and vulnerable), and heat (which increases both of the above). Control these three factors, and you've won most of the battle.
Prevention: The Only Fight You Want to Win
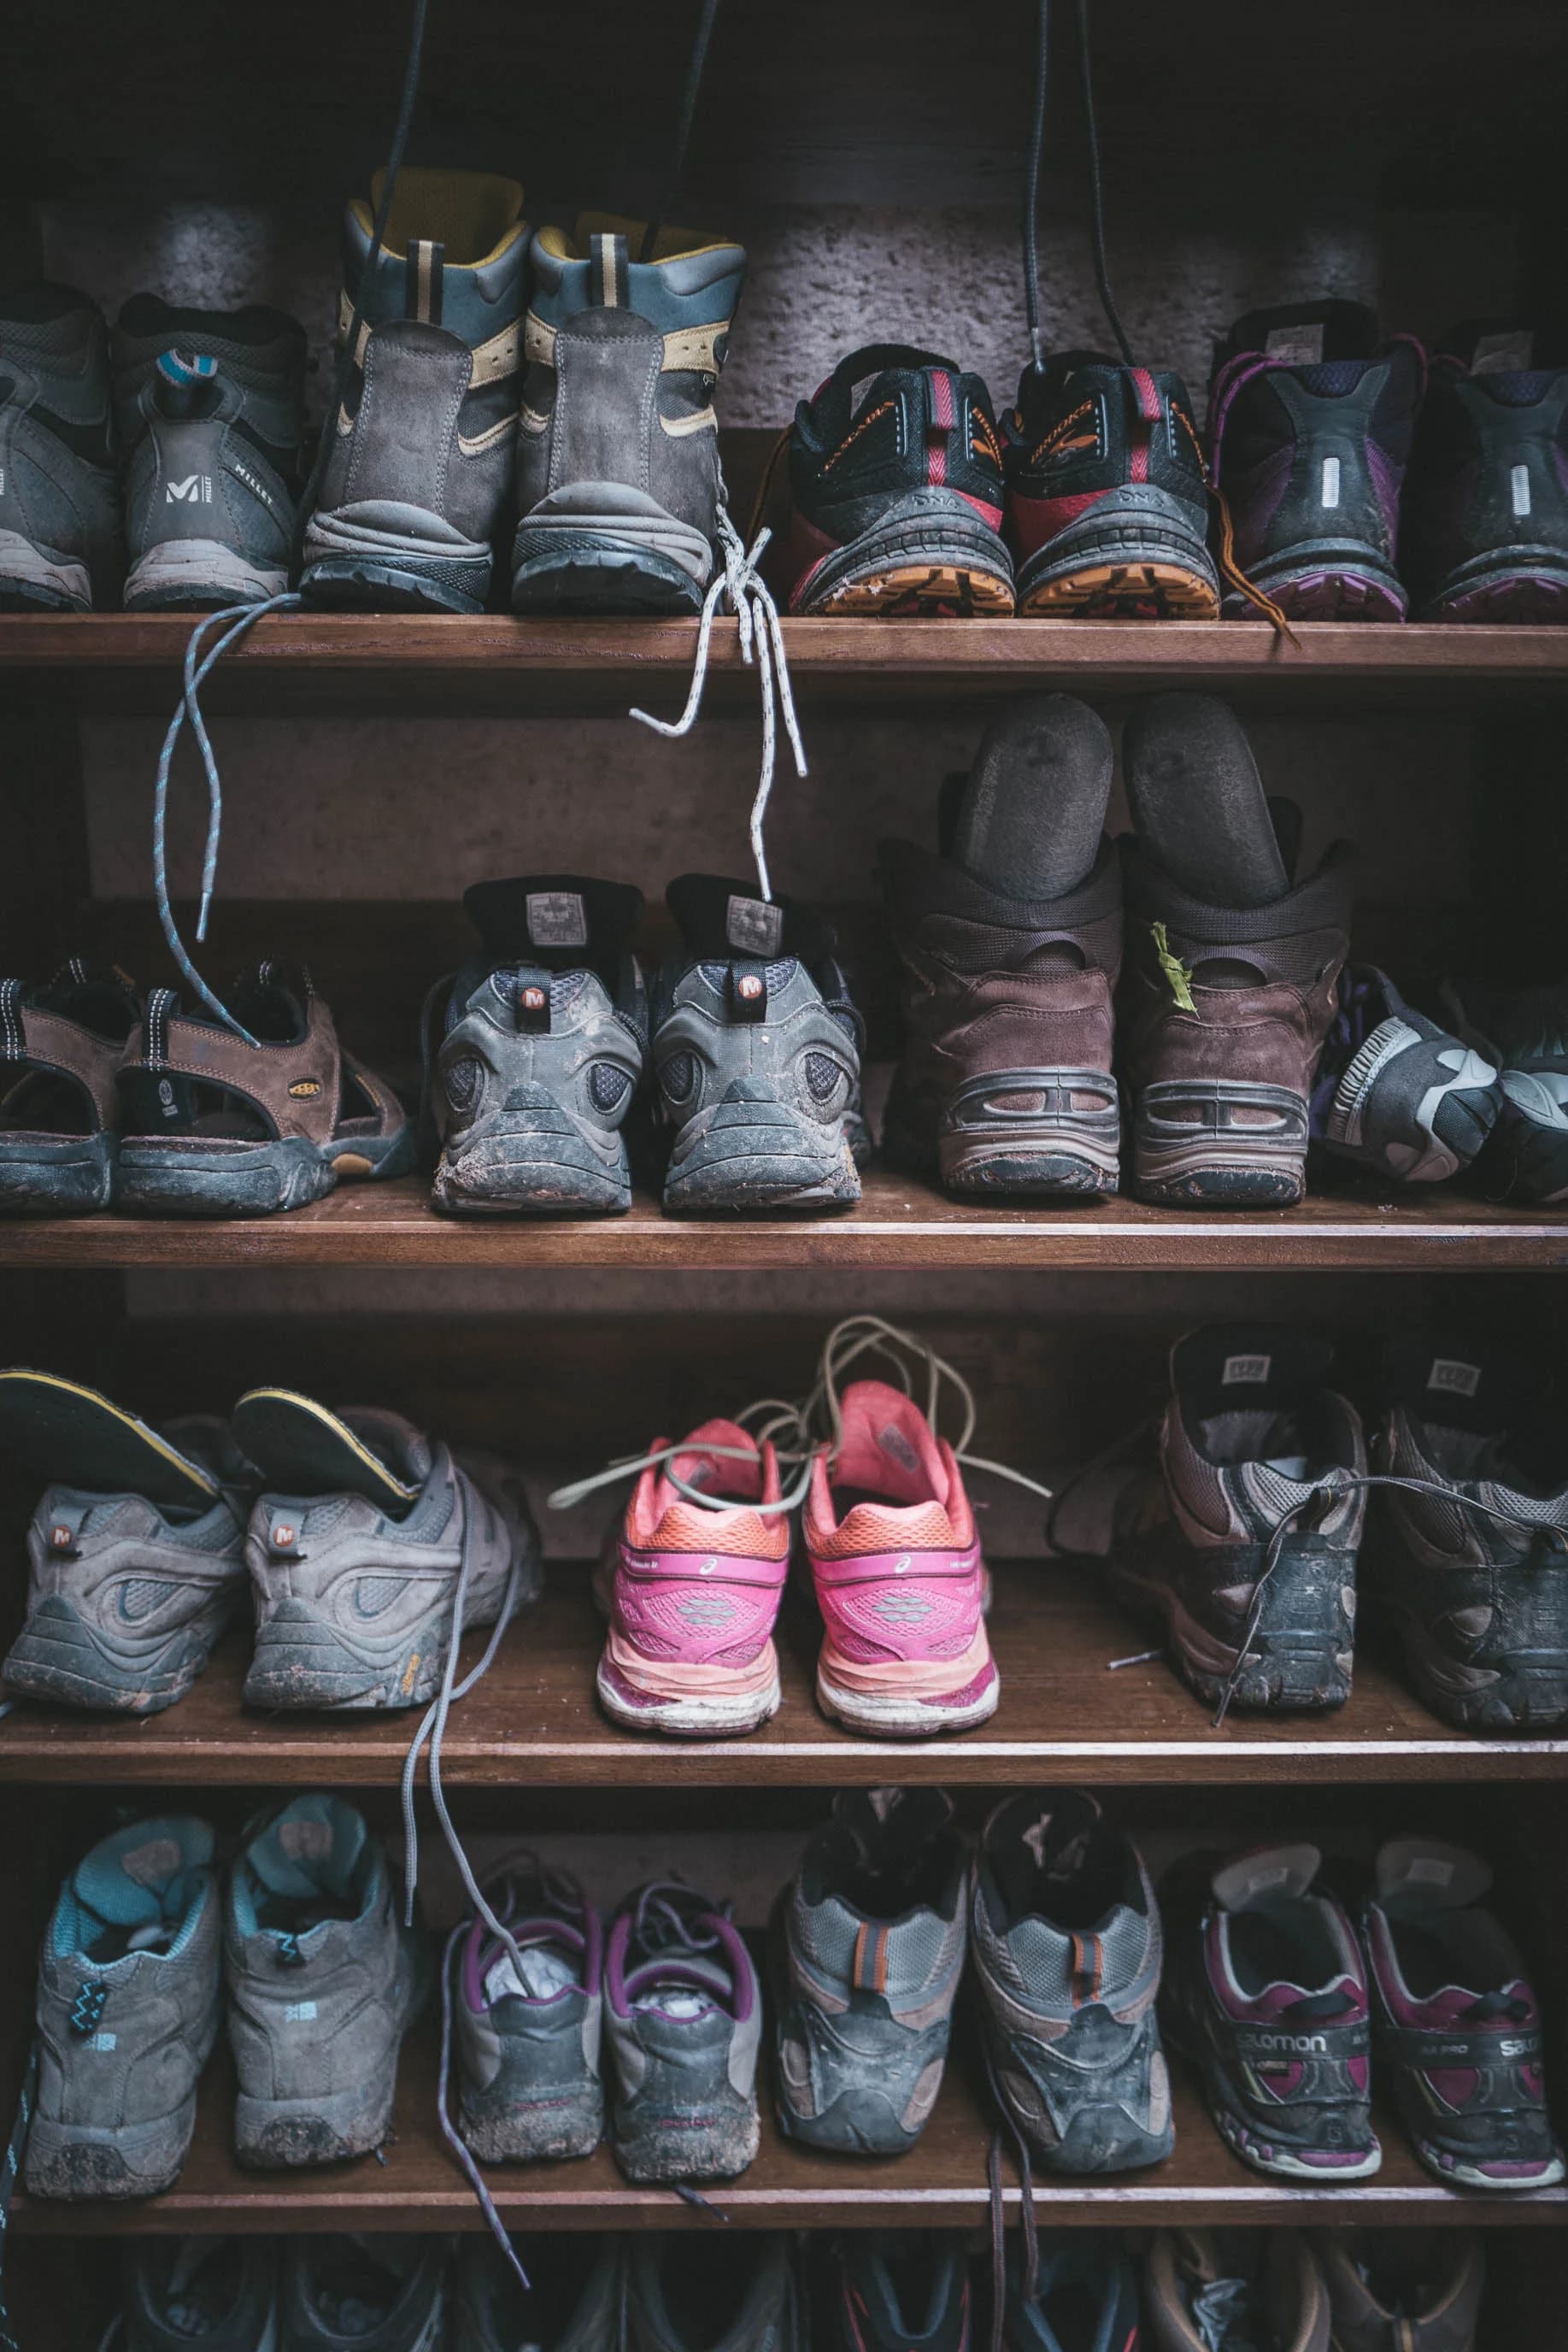
I cannot stress this enough: preventing blisters is infinitely easier than treating them. Once you've got a fully formed blister, you're managing damage. Prevention keeps you in the game entirely.Start With Properly Fitted Footwear
This seems obvious, but I see pilgrims every year starting in brand-new boots or shoes they bought the week before departure. This is, to put it mildly, a terrible idea.Your footwear needs at least 100-150 kilometers of break-in before you start. I'd suggest doing your training walks in whatever you plan to wear on the Camino—not your regular running shoes for training, then switching to boots for Spain. Your feet need to get to know these shoes, and vice versa.
Size up. Your feet will swell, sometimes dramatically, by afternoon. What fits perfectly at 7 AM will feel like a vice by 2 PM. I go up half a size from my regular shoes for Camino footwear, and I make sure there's a thumb's width of space between my longest toe and the end of the shoe.
I've walked in everything from heavy leather boots (the Norte, where waterproofing matters) to trail runners (most of my Frances walks) to hiking sandals (sections of the Portuguese coast). There's no single "right" choice—what matters is that your choice fits your feet and your walking style.
If you're still figuring out what footwear works for you, you might want to ask about specific topics before committing to a purchase.
The Gospel of Good Socks
If I had to choose between expensive shoes with cheap socks or cheap shoes with excellent socks, I'd take the excellent socks every single time. Your socks are the interface between your foot and the shoe—they manage moisture, reduce friction, and provide cushioning where you need it.Never, ever wear cotton socks on the Camino. Cotton absorbs moisture and holds it against your skin, creating the perfect environment for blisters. Wet cotton also loses its cushioning and bunches up, adding friction exactly where you don't want it.
My sock of choice for most conditions is Darn Tough Hiker Micro Crew—they're merino wool, they regulate temperature beautifully, they don't hold odor (important when you're sharing albergue space), and they come with a lifetime guarantee. I pack three pairs and rotate them daily.
For hot weather walking—and the meseta in summer can be genuinely brutal—I switch to Injinji toe socks. These take some getting used to, but they virtually eliminate between-toe blisters by preventing your toes from rubbing against each other. The first time I tried them felt weird. Now I won't walk the meseta without them.
Some pilgrims swear by the double-sock system: a thin liner sock underneath a thicker outer sock, so the friction happens between the socks rather than between sock and skin. Wright socks are specifically designed with this principle built in. I've used this system on the Via Podiensis, where the terrain is particularly demanding, with good results.
Lubricants and Barrier Creams
This is where prevention gets serious. Lubricating your feet reduces friction dramatically, and there are several approaches that work.My personal method, developed over many Caminos, is applying Trail Toes every morning before I put on my socks. Focus on hot spots—the heel, the ball of the foot, between the toes, anywhere you've had problems before. It's a bit messy, but it creates a protective layer that lasts most of the walking day.
Some pilgrims prefer petroleum jelly (Vaseline), which works but can be heavy and tends to break down socks faster. Others use Body Glide, which goes on like a deodorant stick and is less messy. I've met pilgrims who use pure shea butter, diaper rash cream, even sheep's wool lanolin. The specific product matters less than the consistent application.
Taping: The Nuclear Option for Prevention
If you know you have problem areas—spots that have blistered on previous walks or training hikes—taping before you walk can be incredibly effective.Leukotape P is the gold standard here. It's a rigid zinc oxide tape that sticks like nothing else (seriously, getting it off can be its own challenge) and provides a tough, smooth surface that prevents friction from reaching your skin. Apply it directly to clean, dry skin, smoothing out any wrinkles which could themselves cause blisters.
For areas that flex a lot—the heel, the ball of the foot—I prefer KT Tape, which moves with your foot whilst still providing protection.
The key with taping is applying it before you have a problem, to skin that's completely intact. Taping over a hot spot or existing blister is treatment, not prevention, and requires different techniques.
The Daily Foot Care Ritual
Prevention isn't just about what you do before you walk—it's also about what you do during and after.During the walk: stop and air out your feet at least once during a long stage. Take off your shoes and socks, let everything dry for 10-15 minutes. I know it's tempting to push through, but this small investment pays dividends. If you feel a hot spot developing—that telltale warmth or irritation—stop immediately and address it. A hot spot takes five minutes to tape. A full blister takes days to heal.
After the walk: wash your feet properly, dry them thoroughly (especially between the toes), and let them air out. I try to wear sandals or go barefoot for the rest of the afternoon and evening. Inspect your feet carefully for any developing problems—catching issues early is everything.
Some pilgrims swear by soaking feet in salt water, or in water with a splash of surgical spirit to toughen the skin. I've never found this makes a dramatic difference, but it certainly doesn't hurt and the ritual itself forces you to pay attention to your feet.
Treatment: When Prevention Fails
Despite your best efforts, blisters happen. I've had them form in new places on my sixth Camino Frances, which was humbling. The question isn't whether you'll ever get one, but how you'll handle it when you do.Small, Intact Blisters
If you've got a small blister—say, under a centimeter—that's not in a weight-bearing or high-friction area, you might choose to leave it intact. The fluid inside is sterile, and the intact skin protects against infection. Cover it with a Compeed blister plaster (these are like second skin—absolutely miraculous) and keep walking.But let's be realistic about the Camino context: you're walking again tomorrow, and the day after, and the day after that. Small blisters tend to become big blisters. In my experience, dealing with them early and aggressively usually beats the wait-and-see approach.
Draining Blisters Properly
Most blisters on the Camino benefit from being drained, but this needs to be done correctly to avoid infection.First, clean the blister and surrounding area thoroughly. I use alcohol wipes or iodine solution—most albergues have something available, or you can pick up supplies at any farmacia. Let the area dry completely.
Sterilize a needle by holding it in a flame until it glows red, then letting it cool. Some pilgrims use sewing needles they keep specifically for this purpose. Others use safety pins. Don't use a random needle you found in your bag without sterilizing it—infection on the Camino is serious business.
Pierce the blister at its base, near the healthy skin edge, making a small hole. Some people make two holes on opposite sides to allow better drainage. Gently press out the fluid with clean gauze or tissue—don't tear the roof off the blister. That overlying skin, however thin, is protecting the raw skin underneath.
Apply an antiseptic and cover with a proper dressing. For blisters, I layer a small piece of sterile non-stick gauze directly on the wound, then cover with Compeed or Leukotape. The non-stick layer prevents the dressing from bonding to the raw skin—removing a stuck dressing can tear the fragile new skin and set you back days.
The Needle and Thread Technique
For larger or deeper blisters, or blisters that keep refilling, some experienced pilgrims use the needle-and-thread method. This is more advanced, but it's worth knowing.Thread the sterilized needle with clean thread (or dental floss), then pass it through the blister from one side to the other. Remove the needle, leaving the thread in place—this creates a wick that allows continuous drainage whilst keeping the wound protected.
Leave about an inch of thread on each side, and change the thread daily. It sounds medieval, but it works remarkably well for stubborn blisters that won't stay drained.
The Dreaded Hot Spot
A hot spot is that warning sensation—warmth, slight burning, the feeling that something isn't quite right. It's a blister in formation, and catching it at this stage is your best-case scenario.Stop walking immediately. I know, I know—you want to reach the next village, you're making good time, you'll deal with it later. Don't. Seriously. Five minutes now saves days of misery.
Remove your shoe and sock. Let the area cool and dry. Then cover it with a slick, protective layer—Compeed works perfectly here, as does properly applied Leukotape. Make sure there are no wrinkles or edges that could cause additional friction.
Then keep walking, but pay attention. If the hot spot returns, something else is going on—maybe your sock has bunched, maybe there's a seam in the wrong place, maybe you need to loosen or tighten your lacing.
When to Seek Medical Help
Most blisters can be self-managed, but some situations warrant professional attention. If you see spreading redness extending beyond the blister site, if there's pus or a foul smell, if you develop fever or feel generally unwell, or if you see red streaks running from the wound—get to a medical professional. Infection can turn serious quickly.Spanish farmacias are excellent resources for pilgrims. The pharmacists are knowledgeable, often speak English, and can provide advice and supplies for standard foot care. For anything that looks infected or isn't responding to treatment, many towns along the Camino have health centers (Centro de Salud) that can provide more advanced care.
Building Foot Resilience Over Time
Here's something they don't tell you: feet get tougher. My feet on day 25 are genuinely different from my feet on day 5—the skin is thicker, calluses have formed in the right places, and my feet have somehow adapted to the demands of daily long-distance walking.This is one reason why walking every day, even through mild discomfort, can be valuable. Not through severe pain—that's your body telling you to stop—but through that low-grade awareness that comes with hard use. Your feet are adapting.
Before your Camino, build up your walking gradually. Don't do a single 30-kilometer training walk—do weeks of progressively longer walks. Let your feet experience hot weather, wet conditions, different terrains. Discover your personal problem areas before you're standing in Saint-Jean-Pied-de-Port or Lisbon.
Some pilgrims use skin-toughening strategies in the months before walking: painting toes with surgical spirit, wearing socks with sandpaper-like textures, walking barefoot on rough surfaces. I'm skeptical of the more extreme approaches, but consistent training walks genuinely do condition the skin.
The Emotional Weight of Foot Pain
I want to acknowledge something that gets glossed over in practical guides: foot problems are demoralizing in a way that other discomfort isn't. When your shoulders ache, you adjust your pack. When your feet are destroyed, every single step reminds you of your suffering. It can make you question whether the whole endeavour is worth it.I've sat in albergues crying into my café con leche, staring at my ruined feet, genuinely wondering if I should stop. I've met pilgrims who did stop, who took buses forward or went home entirely. There's no shame in that—the Camino isn't supposed to be a punishment.
But I've also watched pilgrims limp through the worst of it and come out the other side. I've seen feet that looked impossible recover with good care. And I've experienced myself that particular satisfaction of overcoming something that seemed insurmountable.
If you're struggling, know that many pilgrims have been exactly where you are. The hospitalero at your albergue has seen worse. The fellow pilgrim offering help isn't judging your foot care failures. This is part of the experience—an unpleasant part, certainly, but woven into the Camino fabric nonetheless.
My Essential Foot Care Kit
After all these Caminos, I've settled on a foot care kit that works for me. Here's what I carry:- Leukotape P - small roll, about 1 inch wide
- Compeed blister plasters - medium and small sizes
- Trail Toes or similar lubricant
- Small pack of alcohol wipes
- Safety pins (sterilized before use)
- Small sharp scissors (for cutting tape)
- Sterile non-stick gauze pads
- Ibuprofen (for inflammation)
This adds maybe 150 grams to my pack, and I consider it absolutely essential. You can buy most of these supplies at farmacias along the way, but having them from day one means you're never caught out.
Final Thoughts
Blisters are one of the great democratizers of the Camino. They don't care if you're a veteran trekker or a first-time walker, if you've spent €400 on boots or €40. They humble the fit and challenge the determined.But they're also manageable. With proper prevention—good socks, broken-in shoes, lubricant, attention to warning signs—many pilgrims walk their entire Camino without significant foot problems. And when blisters do happen, good treatment keeps you moving.
Go in knowing that your feet will be working harder than they've ever worked, that some discomfort is normal, and that most problems can be solved with early intervention and a bit of knowledge. Pay attention to your feet. Give them the care they deserve. They're carrying you all the way to Santiago.
If you're starting to plan your Camino and want personalized advice about foot care preparation or any other aspect of your journey, I'm always happy to help. The Camino is better when we share what we've learned—even the painful lessons about blisters.
---
Try asking My Camino Guide:
- What should I pack in my Camino first aid kit?
- How do I break in boots before walking the Camino?
- What's the best footwear for the Camino in summer?